
A roadside kit succeeds or fails as a complete sequence. The buyer should test how the user finds the lifting point, powers the equipment, removes the wheel and returns every component to the case.
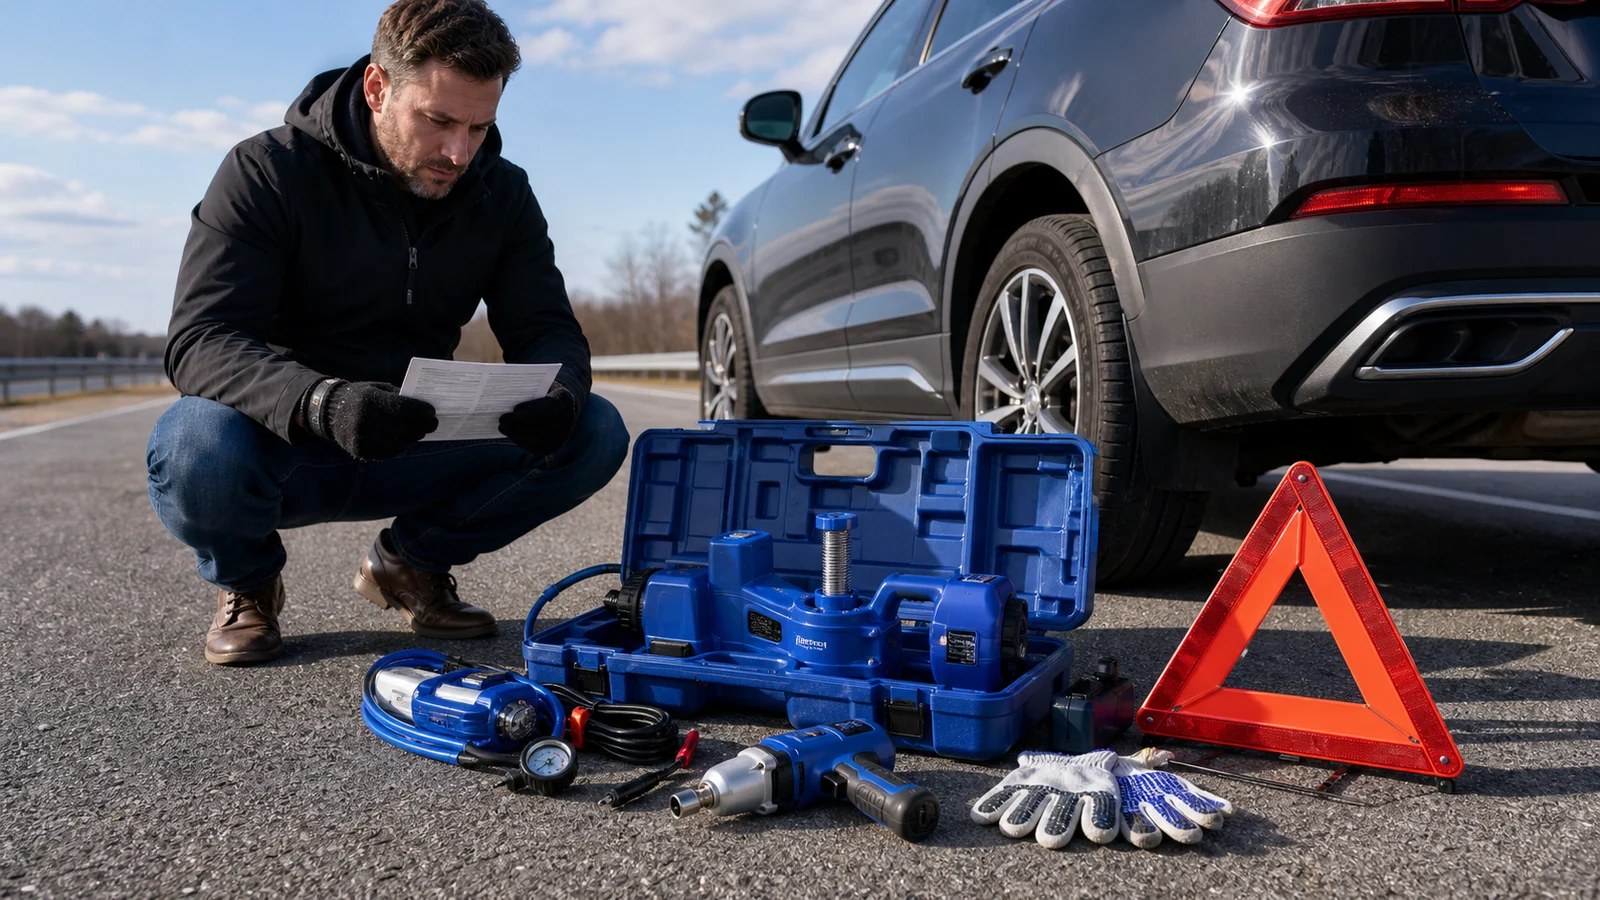
Start with the lifting task
Confirm vehicle class, saddle interface, entry height, lift range and operating surface before adding accessories.
Define the tool sequence
Decide whether the kit includes an inflator, impact wrench, manual tools, gloves, spare fuses, lighting and warning accessories.
Test the case and storage
Every item should have a stable position, visible identification and an understandable return path. Check case closure, carry load and vehicle storage space.
Build user guidance around the sequence
Use clear warnings, diagrams, power instructions and troubleshooting steps. Translate the approved manual for the destination market.
Move from guidance to documented models.
Open the relevant product dossier for capacity, height, MOQ, packaging and model-level RFQ context.
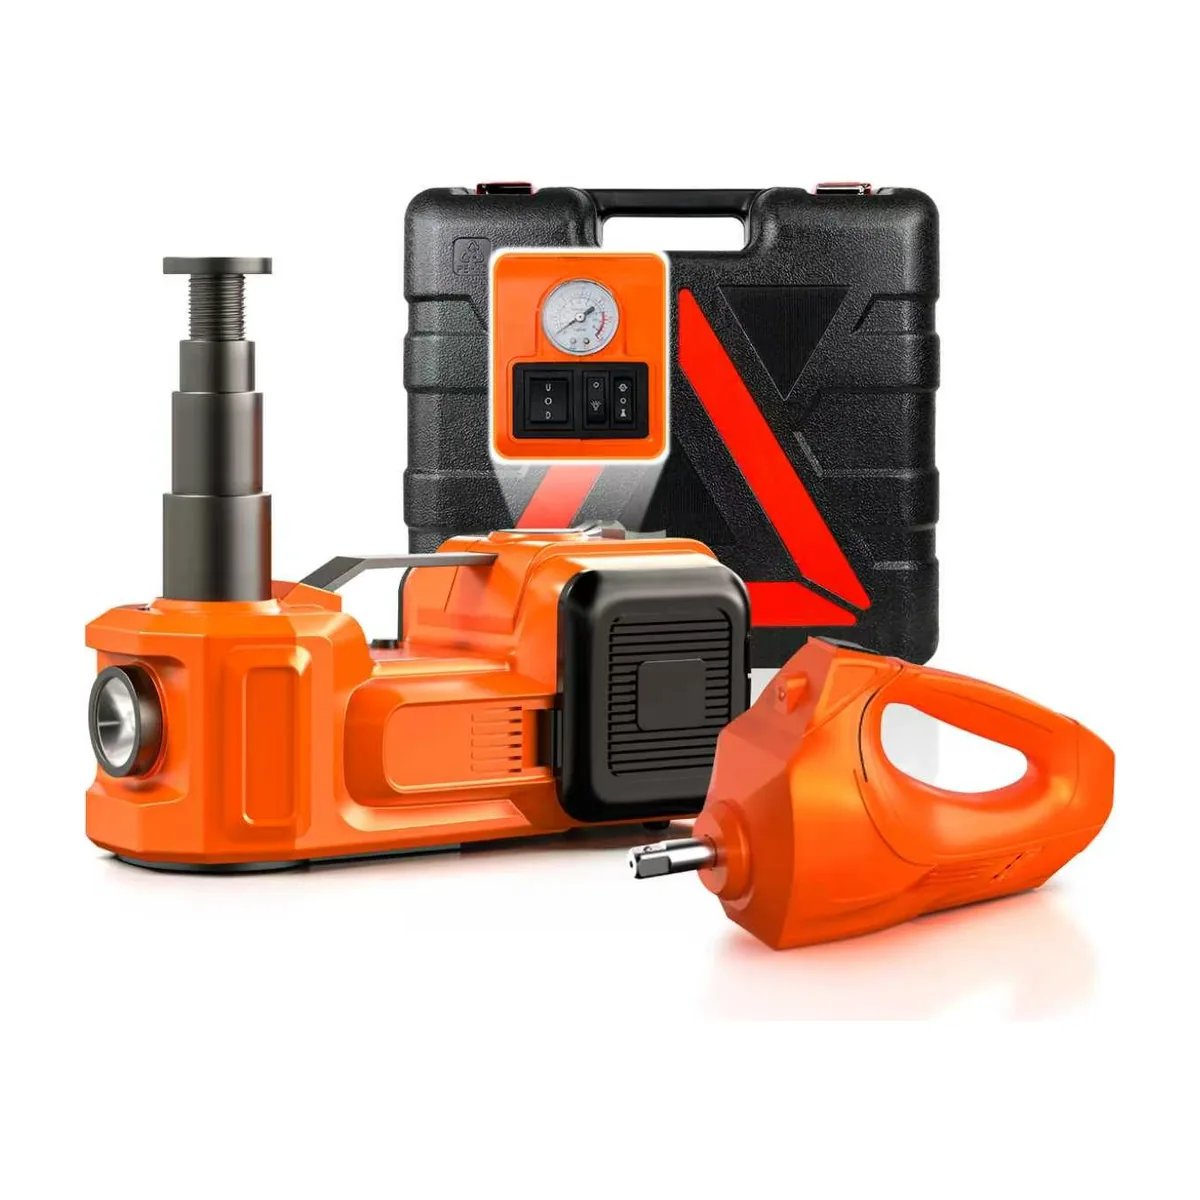
12V Jack, Inflator & Wrench Kit
135 mm min · 360 mm max · 51 sets MOQ
Open product dossier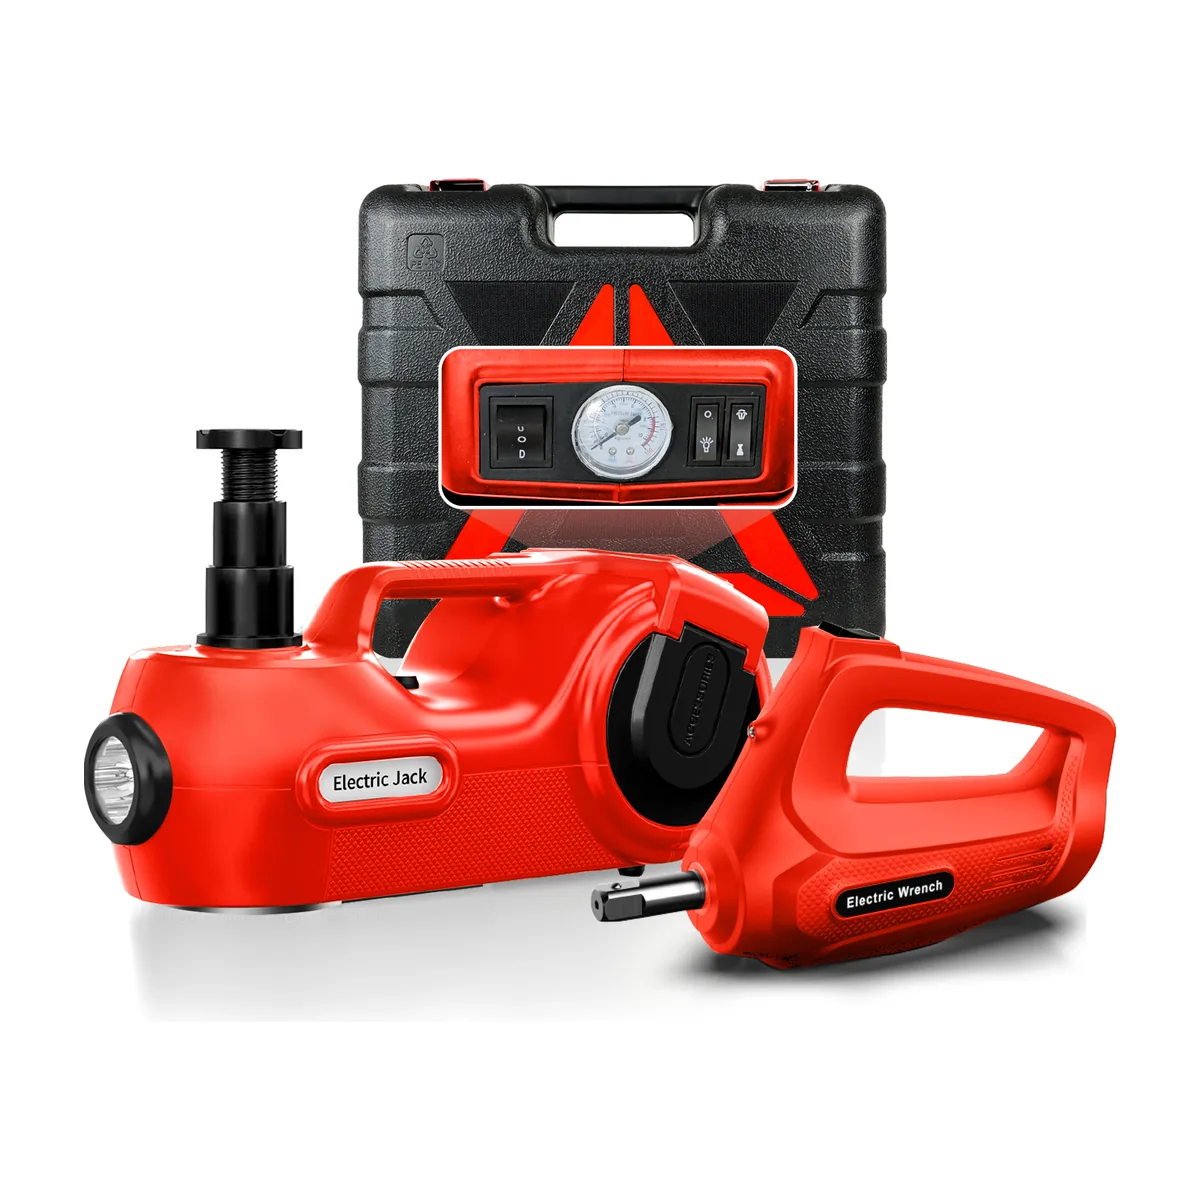
12V Digital Emergency Jack Kit
135 mm min · 360 mm max · 51 sets MOQ
Open product dossier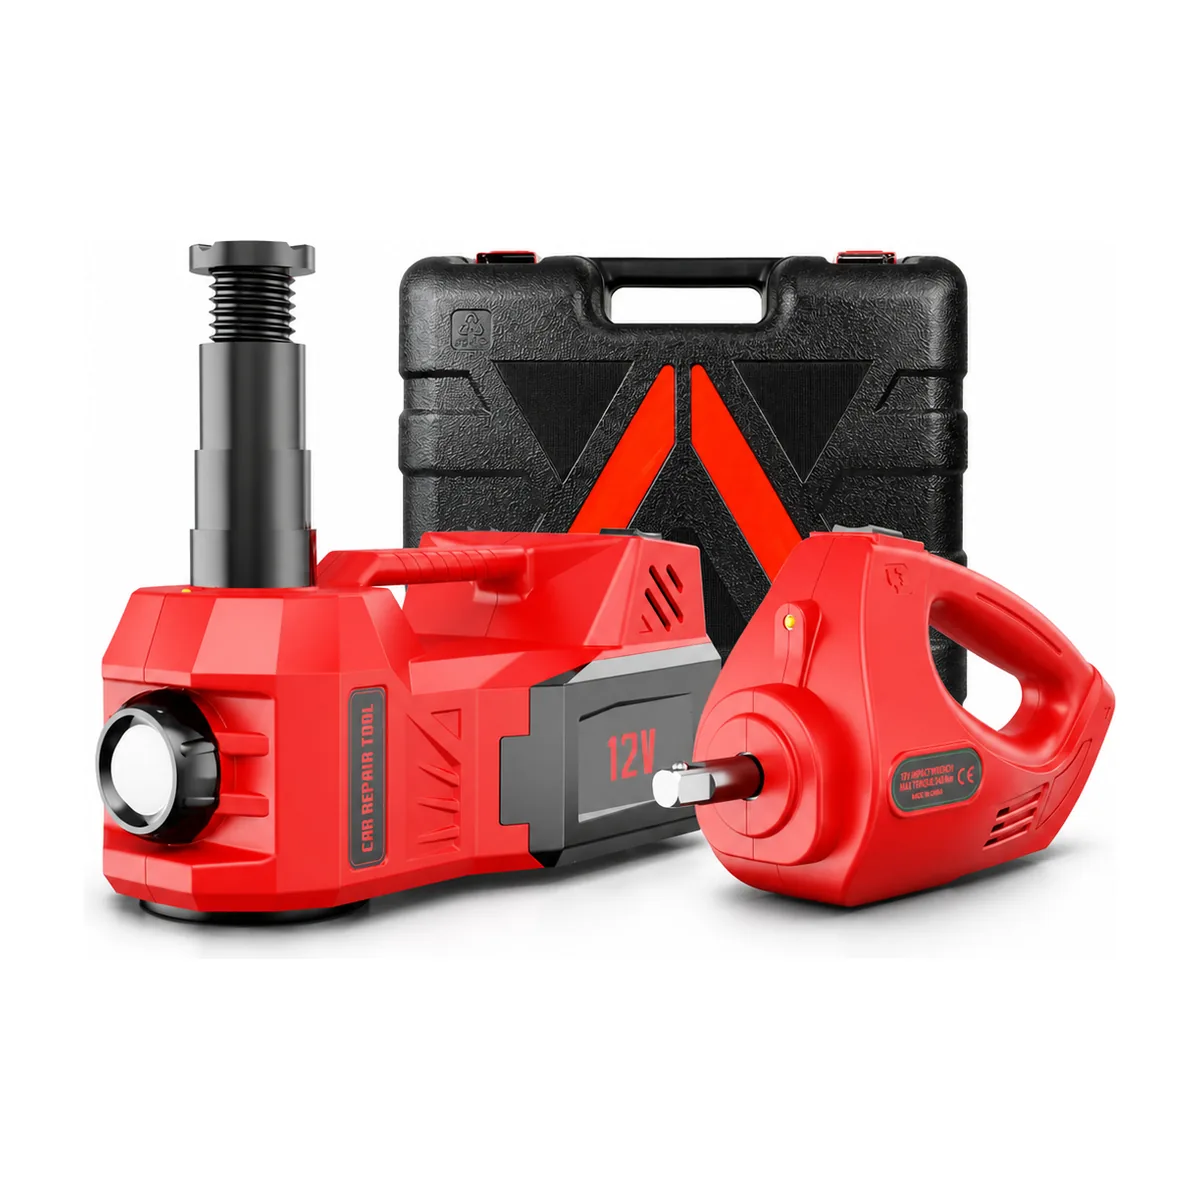
12V Emergency-Light Jack Kit
135 mm min · 360 mm max · 51 sets MOQ
Open product dossierQuestions to resolve before approval.
Final suitability, commercial terms and document scope follow the exact model, target market and ordered configuration.
Does every emergency Jack kit need an impact wrench?
No. Kit contents should follow the target user, channel, price architecture and approved operating sequence.
Should the case layout be approved with the sample?
Yes. Approve the product, accessories, case fit, labels, literature and outer carton as one commercial configuration.